Using Supabase with Vue.js
Supabase is an open source Firebase alternative for building secure and high-performance PostgreSQL backends. It provides developers with a wide array of tools, such as real-time database configuration, authentication, and storage.
Why use Supabase?
- As an open-source product, Supabase grants flexibility and control over your data and applications.
- Supabase provides an excellent UI that gives you a centralized view of your application’s data, authentication settings, APIs, etc. The dashboard is very user-friendly, which gives a great deal of control to developers of all experience levels.
- Supabase provides extensive documentation to help you get started with the platform and make the most of its features.
About this Guide
This document will include
- how to set up a basic Vue.js project
- installing Supabase into your Vue.js project
- an example of creating a small database using the Supabase dashboard
Prerequisites
Before reading this guide, ensure you have Node.js and npm installed on your machine.
Also, this guide is written with the assumption that the reader has a basic understanding of Vue and PostgreSQL.
Step 1: Setting Up a Basic Vue.js Project
-
Create a Vue Project: You can use the command line interface to create a new Vue.js project.
npm init vue@latest vue-app -
Navigate to the Directory: Move into your newly initialized directory.
cd vue-app
Step 2: Installing Supabase JS Client
-
Install the Supabase Client: Use npm again to install the Supabase JavaScript client.
npm install @supabase/supabase-js -
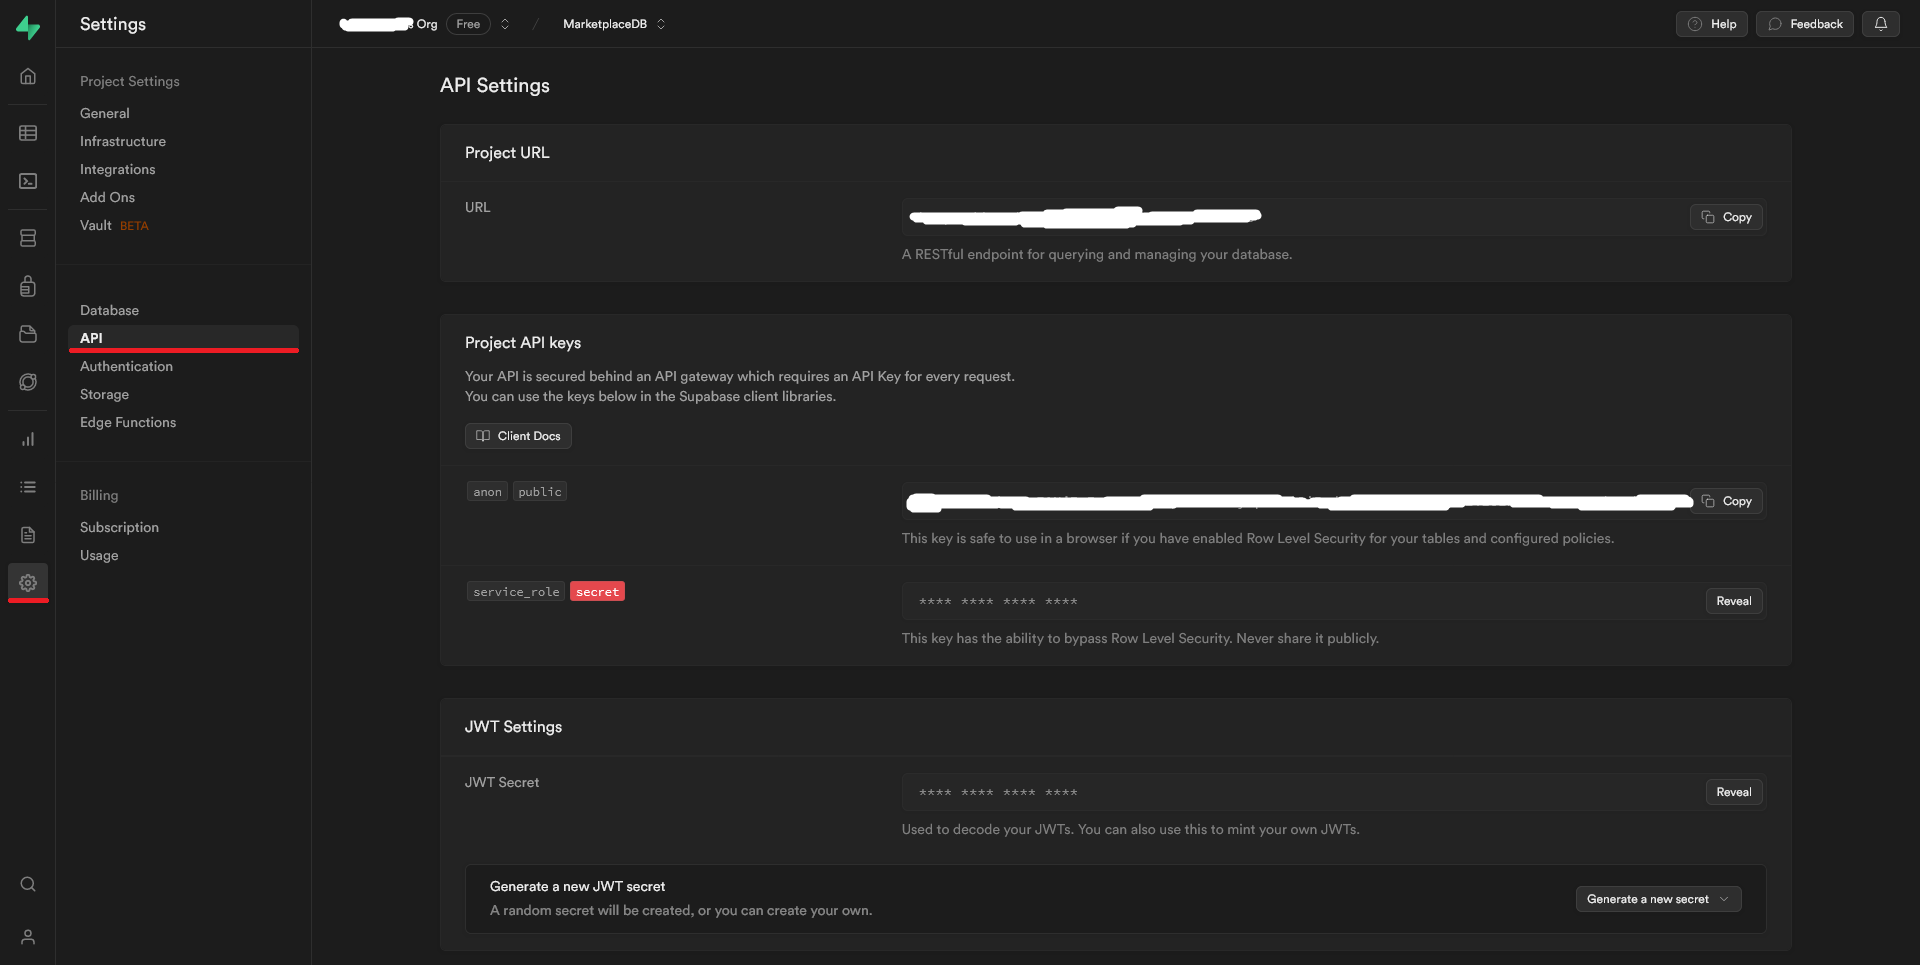
Retrieve your Supabase API Keys: Access your Supabase project dashboard and retrieve your Supabase URL and API keys. On the left-hand side nav bar, go to Project Settings → API and find the Project API keys subsection.
Step 3: Setting Up Supabase in Vue.js
-
Create the Supabase Client: create a
/src/libdirectory in your Vue app, and add a file calledsupabaseClient.js. -
Initialize Supabase Client: In your
supabaseClient.jsfile, add the following code using the keys you retrieved from the previous step.import { createClient } from "@supabase/supabase-js"; const supabaseUrl = "YOUR_SUPABASE_URL"; const supabaseKey = "YOUR_SUPABASE_PUBLIC_KEY"; export const supabase = createClient(supabaseUrl, supabaseKey); -
Import Supabase into Vue Components: Import the created
supabaseclient in your Vue components wherever you intend to use it.// src/components/TemplateComponent.vue <script> import { supabase } from './lib/supabaseClient' export default { ... } </script>
Step 4: Use Supabase Methods in Vue Components
Perform database operations using Supabase methods in your Vue components. The template component below contains an example for each basic database operation (SELECT, INSERT, UPDATE, DELETE).
// src/components/TemplateComponent.vue

<script>
import { supabase } from './lib/supabaseClient'

export default {
  methods: {
    // SELECT
    async selectData() {
      const { data, error } = await supabase
          .from('employee')
          .select('name')
      if (error) {
        console.error('Something went wrong', error.message);
      } else {
        console.log('Fetched data:', data);
      }
    },
    // INSERT
    async insertData() {
      const { error } = await supabase
          .from('department')
          .insert({ id: 1, name: 'Sales' })
      if (error) {
        console.error('Something went wrong', error.message);
      }
    },
    // UPDATE
    async updateData() {
      const { error } = await supabase
          .from('location')
          .update({ name: '1 Bloor St' })
          .eq('id', 5)
      if (error) {
        console.error('Something went wrong', error.message);
      }
    },
    // DELETE
    async getData() {
      const { error } = await supabase
          .from('project')
          .delete()
          .eq('id', 1)
      if (error) {
        console.error('Something went wrong', error.message);
      }
    }
  }
}
</script>
Of course, there’s a lot more we can do to adjust database queries using Supabase. The JavaScript database documentation neatly covers a lot more function configuration.
Conclusion
Well done! You’ve successfully integrated Supabase into a simple Vue.js project. The Supabase client has been set up, initialized in Vue, and your Supabase methods are ready to perform database interactions.
To continue discovering what you can achieve with Supabase, dive into the documentation, or explore advanced topics such as authentication or real-time servers.