Build an Android React Native App Using GitHub Actions
So, you want to build an Android React Native app using GitHub Actions? I’m glad you asked! In this short article we will go over step by step on how to build your APK directly on GitHub.
Getting Started
First, we will create a new Github Actions Workflow. A workflow is just a YAML file that contains tiggers for when certain jobs (scripts) should run.
Create the file .github/workflows/build-frontend.yml to begin specifying the
workflow.
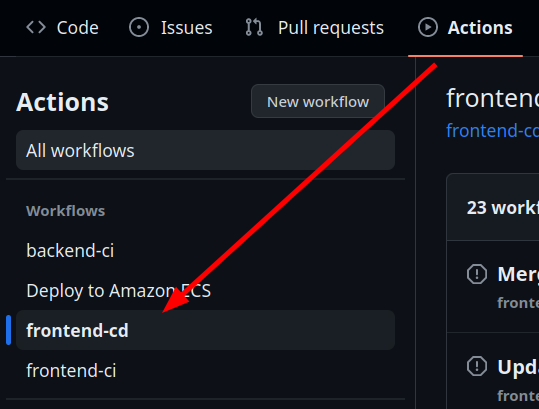
You should also add a name for the workflow at the top which will be visible in the GitHub Actions tab.
name: frontend-cd
Workflow Triggers
Triggers define when your jobs will run. We will setup the workflow to build whenever there is a push to main:
on:
  push:
    paths: [ "Frontend/**" ]
    branches: [ "main" ]
Furthermore, notice how I included the filter paths: [ "Frontend/**" ], this
is important because it avoid running our build unnecessarily. For example, for
my case, I have both frontend and backend code in the same repo. Thus, having
this filter avoid building the frontend for backend pull requests.
Defining a Job
Setup Steps
jobs:
  cd:
    runs-on: ubuntu-latest

    timeout-minutes: 20

    steps:

    # Clone the repo on the target machine (ubuntu-latest)
    - name: Checkout code
      uses: actions/checkout@v4

    # Installs Node.js
    - name: Set up Node.js
      uses: actions/setup-node@v4

    # Installs your prjects dependencies as defined in your package.json file
    - name: Install dependencies
      working-directory: Frontend/DebrisMine
      run: npm install

    # Install the Android SDK (for building the app)
    - name: Setup Android SDK
      uses: android-actions/setup-android@v2

    # Install the Gradle build tool
    - name: Setup Gradle
      uses: gradle/gradle-build-action@v2
The schema here is fairly self explanatory. But for completeness, here we only
define one job (named cd). It runs on an Ubuntu machine, and the job times out
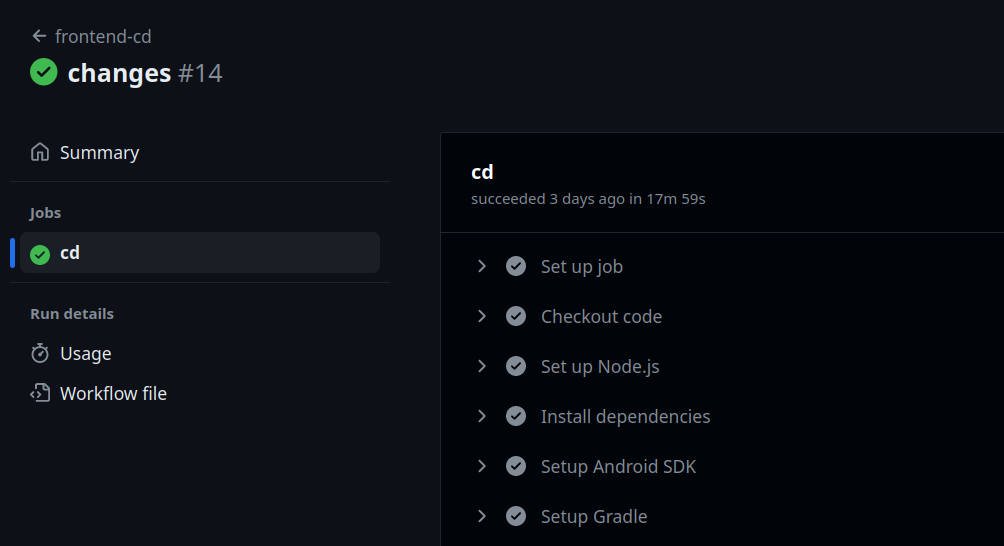
after 20 minutes (useful to avoid unexpected long builds). Notice how each step
has a name, this is the name that will be visible when the action is run:
Build steps
    # Optional pre-build step
    # Make sure to cd to your android folder though!
    - name: Prebuild Android
      working-directory: Frontend/DebrisMine
      run: |
        npx expo prebuild -p android --no-install
        cd android && chmod +x ./gradlew

    # Building using gradle
    - name: Build Android Release
      working-directory: Frontend/DebrisMine
      run: |
        cd android && ./gradlew clean && ./gradlew app:assembleRelease
Since I use expo, I have a prebuild step before building
which generates the android folder for me. If you are not using expo, then
simply ommit this line npx expo prebuild -p android --no-install, and just cd
into the android folder which you should have pushed to your repo.
Signing steps
All Android apps need to be signed for them to be trusted by your Android device (and Google Play).
    # Sets the environment variable BUILD_TOOL_VERSION based on the installed
    # Android SDK version (needed for next step).
    - name: Setup build tool version variable
      shell: bash
      run: |
        BUILD_TOOL_VERSION=$(ls /usr/local/lib/android/sdk/build-tools/ | tail -n 1)
        echo "BUILD_TOOL_VERSION=$BUILD_TOOL_VERSION" >> $GITHUB_ENV
        echo Last build tool version is: $BUILD_TOOL_VERSION

    # Sign the APK
    - name: Sign APK
      id: sign_app
      uses: r0adkll/sign-android-release@v1
      with:
        releaseDirectory: $/Frontend/DebrisMine/android/app/build/outputs/apk/release
        signingKeyBase64: $
        alias: $
        keyStorePassword: $
        keyPassword: $
      env:
        BUILD_TOOLS_VERSION: $
To sign the APK you will need to add four secrets to your GitHub repo:
ANDROID_SIGNING_KEY, ANDROID_SIGNING_ALIAS,
ANDROID_SIGNING_STORE_PASSWORD, and ANDROID_SIGNING_KEY_PASSWORD.
Keytool
comes installed with the JDK. You can create a key using Keytool from the
command line: keytool -genkey -v -keystore my-release-key.keystore -alias
alias_name -keyalg RSA -keysize 2048 -validity 10000. You can replace
alias_name with anything you’d like, but make sure to remember it, since it will
be the ANDROID_SIGNING_ALIAS secret. The command line tool will aslo ask for a
store password and a key password (make sure to remember it or note it down
somewhere). Finally, the ANDROID_SIGNING_KEY is simply the contents of the
generated file: my-release-key.keystore.
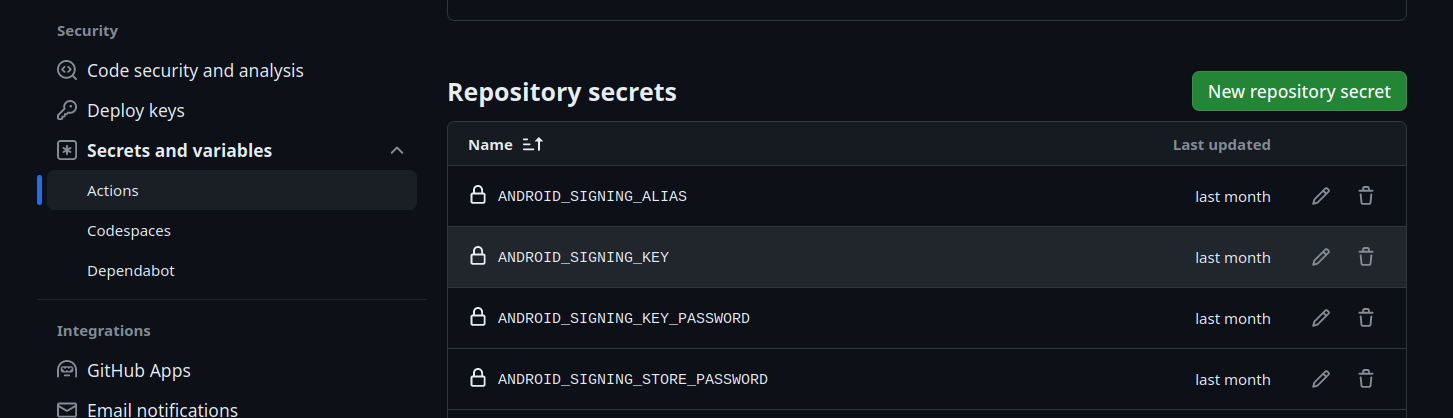 You can add the secrets through the repo settings.
Upload step
The app has been build but it’s still “stuck” on the machine, we need to upload it back to GitHub as an Artifact.
    - name: Upload APK Artifact
      id: uploadArtifact
      uses: actions/upload-artifact@v2
      with:
        name: app
        path: $
Ending Notes
Congrats! If all goes well, you should have automatic builds setup and ready!
You should be able to download the signed APK file for every push to main from the Artifacts sections of a run.
